The Medical Scheduling Template That Actually Works: A Build Guide
Healthcare scheduling has quietly become one of the hardest operational problems in a clinic. Not because the concept is complicated, but because the reality is: patients cancel, urgent cases appear without warning, staff availability shifts, and a schedule that looked fine at 8am can fall apart by 10.
A medical scheduling template won’t eliminate that unpredictability. But it gives your team a consistent structure to work from, so when things change, the response is faster and the disruption is smaller.
This guide walks through what the template should include, how to build it, and the mistakes that make most scheduling systems fail.
Why Most Scheduling Systems Break Down
The problem usually isn’t the calendar. It’s what’s missing from it.
Paper logs and basic spreadsheets work until the pace picks up. Then the cracks show: a cancellation doesn’t reach the right person in time, a provider shows up to a double-booked slot, or a follow-up falls through because no one tracked it. These aren’t rare failures. They’re what happens when the scheduling tool can’t keep up with the actual workflow.
The three most common failure points:
Manual entry errors
Every hand-keyed update is a chance for a double-booking, a missed entry, or an outdated status. In a busy clinic, that risk compounds quickly.
No shared visibility
When different departments use different tools or files, a change in one place doesn’t automatically reach the people who need it. Providers, front desk, nurses, and billing end up working from different versions of the same day.
Rigidity
A schedule with no buffer, no flexible slots, and no clear process for urgent additions breaks the moment something unexpected happens, which in healthcare is daily.
What the Template Needs to Include
A useful scheduling template has two jobs: capture the right information, and make that information easy to act on. If it’s too detailed, staff won’t use it consistently. If it’s too bare, it won’t solve anything.
Core Fields
| Field | Why It Matters |
|---|---|
| Appointment Type | A new patient visit and a 10-minute follow-up aren’t the same. Time, prep, and staffing differ. |
| Provider / Staff Assigned | Ownership prevents confusion. When someone’s name is on it, they prepare for it. |
| Date, Time, Duration | Duration is the field most templates skip. Without it, the day runs long before lunch. |
| Priority / Urgency | Helps staff triage when urgent cases arrive and slots need to shift. |
| Status | Scheduled, confirmed, checked in, completed, cancelled, no-show. Tracking this in real time keeps everyone aligned. |
| Notes | Special instructions, accessibility needs, interpreter required, prep requirements. |
| Follow-up / Reminder | Flags whether an automated reminder is set and whether a follow-up is needed after the visit. |
What Most Templates Miss
Buffer slots.
These aren’t wasted time. A 10-minute buffer between complex appointments gives the schedule room to breathe when something runs long. Without it, one delay cascades through the rest of the day.
Appointment length variety.
Blocking 30 minutes for every appointment regardless of type is one of the fastest ways to create an overloaded afternoon. New patient visits, telehealth calls, annual physicals, and quick follow-ups should each have realistic durations.
An open urgent slot.
Build at least one flexible slot per provider session. It gives the clinic somewhere to put last-minute urgent cases without disrupting confirmed appointments.
How to Build It: Step by Step
Step 1: Map your appointment types
List every type of visit your clinic handles and assign a realistic time block to each. This becomes your default duration guide.
Step 2: Define your status categories
Agree on a consistent set of status labels across all staff. Scheduled, Confirmed, Checked In, In Progress, Completed, No-Show, Cancelled, Rescheduled. Everyone should use the same language.
Step 3: Build the daily view
Structure each provider’s day in time blocks. Include their name, location (if multi-site), and a visible note of their break times and any blocked-off admin time.
Step 4: Add buffer and urgent slots
Mark these clearly so staff don’t accidentally book over them. Even one buffer slot per half-day makes a measurable difference.
Step 5: Set up your follow-up and reminder column
For each appointment, note whether an automated reminder is scheduled and whether a follow-up visit or task is needed. This prevents care gaps and reduces no-shows.
Step 6: Review and adjust weekly
A scheduling template is not a set-and-forget system. Review it at the start of each week to catch patterns: which slots consistently run long, which providers are consistently overloaded, where no-shows cluster.
Common Mistakes That Undermine the Template
Treating every appointment as the same length
It wastes time for short visits and creates pressure for longer ones.
Skipping the status column
Without live status tracking, staff are always guessing where things stand.
Overloading the template with fields
If it takes longer to fill in than to just call someone, the team will stop using it properly.
Building in no flexibility
A fully packed schedule with no buffer is fragile. One urgent case or one delayed appointment can throw off the rest of the day.
Using disconnected tools
If scheduling lives in one place and reminders, billing, and follow-ups live somewhere else, updates get lost between them.
What Good Scheduling Actually Looks Like in Practice
Consider a typical Wednesday at a mid-size primary care clinic. Without a structured medical scheduling template, the day might look like this: a 9am new patient visit runs 15 minutes over because no buffer was built in. The 9:30 slot backs up. By 11am, three patients are waiting, the front desk is fielding complaints, and the provider is rushing through appointments to catch up. An urgent walk-in arrives at 11:15 with nowhere to put them.
With a well-built medical scheduling template, the same Wednesday looks different. The new patient visit has a 10-minute buffer after it. The urgent slot at 11am absorbs the walk-in without touching confirmed appointments. Status updates are visible in real time, so the front desk isn’t guessing. The provider finishes the morning within 8 minutes of the planned end time.
That’s not a perfect day. Cancellations still happen. Urgent cases still arrive. But the structure underneath means the team is managing exceptions, not drowning in them.
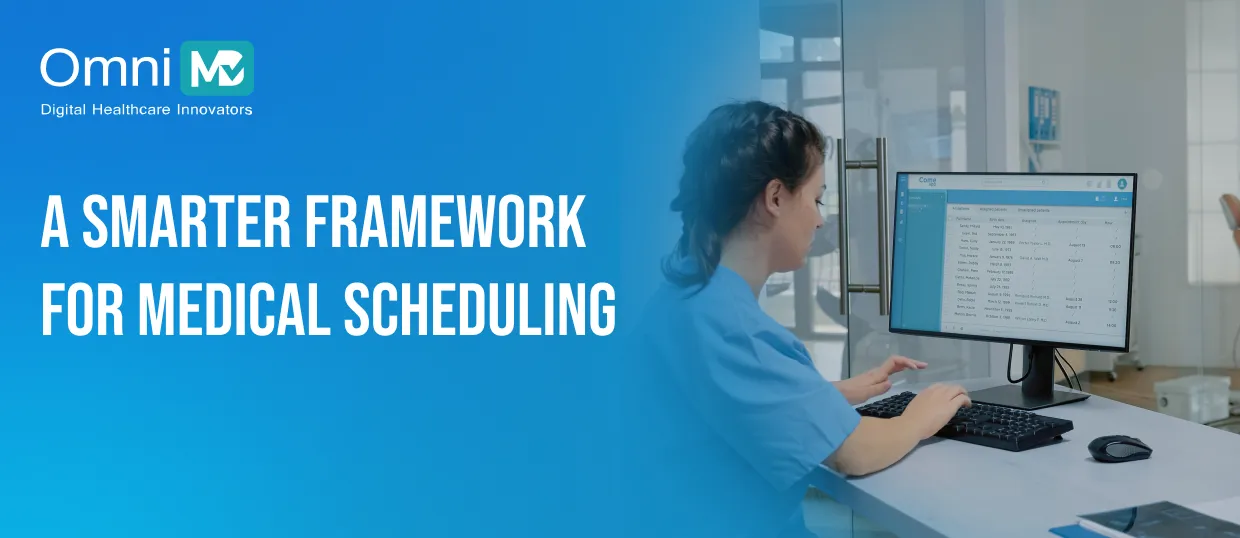
How OmniMD Supports Better Scheduling
A template gives your team structure. OmniMD keeps that structure connected to everything else happening in the practice.
Where most scheduling tools stop at the calendar, OmniMD integrates scheduling into the broader care workflow, so a confirmed appointment can trigger a reminder, a completed visit can flow into billing, and a follow-up task doesn’t fall through because it lived in a separate system.
For practices managing high appointment volume, multiple providers, or multi-location coordination, that connectivity makes a real difference. The schedule stops being an isolated admin function and becomes part of how the clinic actually runs.
What that looks like in practice:
- Appointment changes update across the workflow, not just the calendar
- Reminders and follow-ups are tied to the schedule, not managed separately
- Providers, front desk, and billing staff work from the same current picture
- Managers get visibility across locations without chasing updates
If your clinic is dealing with no-shows, overbooked days, or coordination gaps between departments, OmniMD is built for exactly that environment.
Final Takeaway
A medical scheduling template works best when it brings order without taking away flexibility. It should help the clinic stay organized, reduce avoidable stress, and support both patient care and staff coordination. That balance is what makes it truly useful.
Healthcare scheduling will always involve change, but the right template makes that change easier to manage. With the right structure in place, clinics can reduce chaos, improve workflow, and create a smoother patient experience. That is the real value of a scheduling template that actually works.
If your clinic is struggling with scheduling complexity, it may be time to look at a smarter workflow.
FAQs
Q: What’s the difference between a scheduling template and scheduling software?
A template is the structure, the fields, the format, the logic. Software automates and connects that structure to other parts of the workflow. Both matter, but the template is the foundation.
Q: How often should we update the scheduling template?
Review it weekly for immediate issues and quarterly for structural changes. If you’re regularly running late or seeing no-show clusters, the template is telling you something.
Q: What’s the right number of fields?
Enough to capture what staff need to act without slowing them down. Seven to nine fields is a practical range for most clinics.
Q: How do we handle urgent walk-ins without disrupting the day?
Build a designated urgent slot into each provider session. When it’s used, it’s used. When it isn’t, it can absorb buffer overrun or be released late in the day.
Q: Can one template work across multiple locations?
Yes, with a location field added and a clear shared status system. Multi-site scheduling needs more visibility, not more complexity.

Build a Medical Scheduling Template That Actually Works
OmniMD connects your scheduling template to your full clinic workflow — reminders, billing, and follow-ups included.
Scheduling templates that live outside the EHR require manual synchronization with the clinical and billing record, adding the administrative overhead this guide is designed to reduce. The OmniMD EHR platform includes configurable scheduling templates where appointment types link directly to billing codes, intake forms, and follow-up workflows inside the same system providers use for charting.

Dr. Giriraj Tosh Purohit is an experienced Product Manager and Security officer with a strong background in healthcare technology and management consulting. With expertise spanning clinical workflows, EHR, RCM, Digital Health, and AI-driven products, he has been instrumental in shaping innovative healthcare solutions.